Luna's Duoprism Method
This explanation specifically covers the {5}x{4} 3 duoprism, but very similar, if not identical algorithms can be used on any duoprism, excepting {3}x{n}.
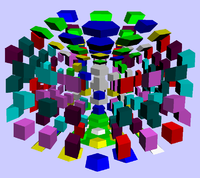
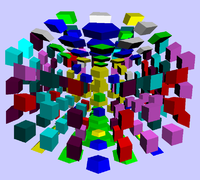
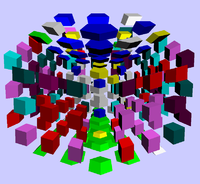
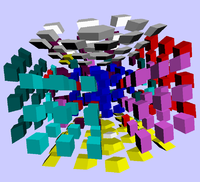
Firstly, this is the solved {5}x{4} 3 in the conventional view: 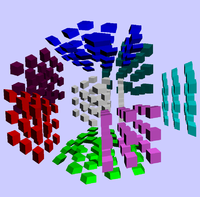
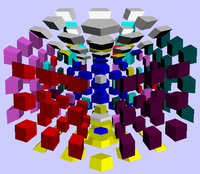
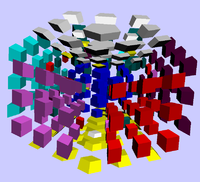
However, I prefer to bring the cells closer together, to get a better view of pieces, like this: 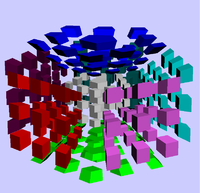
It may look like a mess, but I find it makes understanding the puzzle easier, as you can more easily see how the puzzle joins together.
Contents
Notation
I am assuming familiarity with the usual notation for 4D puzzles, as well as familiarity with some of them, but there are a few notable things about the notation I will use in this explanation:
In the solved puzzle above, the red cell with be Front (F), the pink Right (R), the cyan Back Right (Br), the teal Back Left (Bl), and the maroon Left (l). The Up, In, Down, and Out cells should be already familiar.
In some algorithms I have included a 2, where a single click would already rotate 180 degrees. This is for ease of translation to other puzzles. For example, on this puzzle, UF2 is identical to UF, as a single click rotates 180 degrees. Bear this in mind.
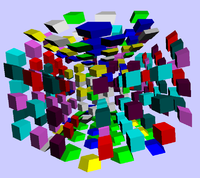
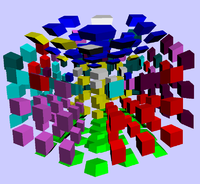
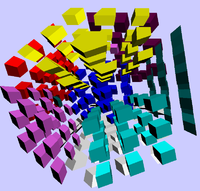
Now, lets scramble, and get started. 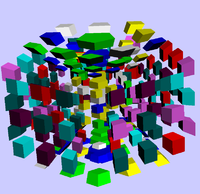
Step 0: Rings
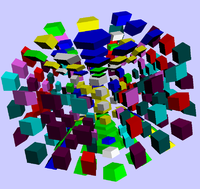
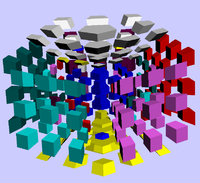
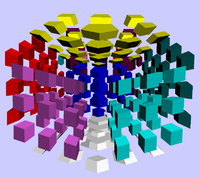
In this step you simply solve the rings going through the centres of each cell. That is, the pentagonal stickers on the pentagonal cells, and the side square stickers of the cubic cells. This forms two rings around the puzzle. The completed step can be seen on the right.This step is completely intuitive, and relatively simple. You should very quickly pick it up.
If you ever see a piece that seems to be flipped in place, it must be cycled all the way around the puzzle. This is caused by having an odd number of cells, so the piece flips an odd number of times as it moves around.
Step 1: Cross
1a: 2C cross
In this step you align the 5 2-colour pieces of the down cell to form a cross. This step is also completely intuitive, and if you have ever solved a 3D cuboid puzzle, this will be easy. Otherwise, the algorithm UO RO2 UO' RO2 will move a 2-colour piece from the top of the right cell to the bottom of the right cell. Perform this algorithm and try to understand it if you find this step difficult.
The finished cross can be seen on the right.
1b: Bar cross
In this step, you place the 3-colour pieces that join two pentagonal cells and a cubic cell, to extend the cross into five bars around the down cell.
The two cases can be seen on the left, with the Green-Red-Yellow piece being placed from IUR both times. The completed cross is on the right. This step is fairly intuitive, but the algorithms can be memorised if you wish.
1c: Block cross
In this step, you place the 2-colour pieces to form pairs with the 3-colour pieces you just placed. This will extend each bar to a 1x2x3 block. This is accomplished by placing the piece at UR, and performing UO RF IU UF2 IU' UFR2 RF'.
In the left picture, the teal_yellow centre is being placed.
The completed cross can be seen on the right.
Those experienced with F2L should be able to combine steps 1b and 1c.
Step 2: Full F2L
2a: Double cross
In this step you place the 3-colour pieces between two cubic cells to create a cross on the down face of each cubic cell. Again, if you have solved cuboids before, this should be very easy.
To place a 3-colour piece, move it above the position it belongs, and use a UFR2 twist if the colours match the cubic centres beneath them, reaching the first position shown on the left. Then, perform RO2 UO RO2 UO RO2 UO2' RO2.
If you find that a 3-colour piece is trapped in the middle layer, such as in the second position shown on the left, use the algorithm RF UO' FR' UO' RF UO2 RF' to move it onto the top cell.
The completed cross can be seen on the right.
2b: 4C first layer corners
In this step you place the 4-colour pieces into the bottom layer. The two cases can be seen on the left and right, with the Green-Yellow-Maroon-Teal piece being placed.
This is a relatively simple step, and you shouldn't run into much difficulty.
2c: 3C second layer edges
In this step you add the 3-colour pieces to the 4-colour pieces you just placed to complete F2L. The piece is inserted from UFR, like in the image on the left.
The completed F2L can be seen on the right.
Those highly competent with F2L should be able to combine 2b and 2c.
3: OLC
3a: Orient 3C
At this point, you should reorient the puzzle so the up cell is now at the in position.
In this step you orient the 3-colour pieces of the last cell. The algorithm, RF IU2 RF' IU RF IU2 RF', effectively flips IDL and IUBl. Use set-up moves to place two incorrectly oriented 3-colour pieces to these positions, then execute the algorithm.
This should not be too difficult.
3b: Orient 4C
In this step you orient the 4-colour pieces of the last cell, much like 3a. The algorithm, RF IU2 RO2 UO RO2 UO' RO2 IU RO2 UO RO2 UO' RO2 IU2 RF', effectively flips IDRF and IULBl. Use set-up moves to place two incorrectly oriented 4-colour pieces to these positions, then execute the algorithm.
This should not be too difficult.
The oriented last cell can be seen on the right.
4: PLC
4a: Last cell centres
In this step you will solve the centres of the last cell. Use I* twists to place as many as possible, and use the algorithm IR IBl IL: RU2 IU2 RU2 IU RU2 IU2 RU2 to cycle IR>IBl>IL.
If you have only two centres to swap, like in the image on the left, use the algorithm IU' FR' IU' FR' IU' FR' IU' RF FO2 RF' FOU2 IU FR IU FR IU FR. This will misorient some pieces though, so they will need to be reoriented as in step 3.
4b: Last cell ring
In this step you will solve the 3-colour pieces around the middle layer of the last cell using the same method as in step 0, with RKT (T is equivalent to I).
This should be straightforward.
The completed ring can be seen on the right.
4c: Last cell 3C
In this step you will solve the 3-colour pieces of the last cell using a 3 cycle. This algorithm is long, but easily broken down:
(RF2 FO2 RF2 FU2) twists the middle slice of the front cell 180 degrees, and will be called A.
(A IU A IU A IU2' A) Performs a bar 3 cycle of IF>IR>IBl, and will be called B.
(B UO B' UO') Performs a 3-cycle of IUF>IUBl>IUBr. This is the algorithm used.
Use set-up moves to place pieces into these positions to swap them, solving all 3C pieces 2 at a time.
Use of macros is recommended, but this step is indeed possible without them.
This step may be confusing, but should not be too difficult once you get the hang of it.
4d: Last cell 4C
In this step you will solve the 4-colour pieces of the last cell using a 3 cycle. This algorithm is long, but easily broken down:
(RO2 DI RO2 DI' RO2) swaps some down cell bar corners with UFR, and will be called A.
(A UO A UO A UO2' A) Performs a bar 3 cycle of UFR>URBr>UBrBl, and will be called B.
(B IU B' IU') Performs a 3-cycle of IUFR>IULBl>IUBlBr. This is the algorithm used.
Use set-up moves to place pieces into these positions to swap them, solving all 4C pieces 2 at a time.
Use of macros is recommended, but this step is indeed possible without them.
This step may be confusing, but should not be too difficult once you get the hang of it.
On completing this step, the puzzle will be solved.
Extentions
This exact method can be used on any 2 or 3 layer duoprism. Two layer duoprisms are simply less pieces than the 3 layer puzzles.
Extention to different 3 layer duoprisms requires the creation of similar, but different algorithms for some steps. This is most prevalent in the last cell. Experimentation is the key, and algorithms will not be given here.
Duoprisms which have both prisms larger than 4 require partial repetition of steps 1 and 2, until only a single cell is left.
Other algorithms exist for both orientation and permutation of the last cell, and you are encouraged to create them yourself.
